How to Create Stunning Chocolate Shapes with Chocolate Molds: A Step-by-Step Guide
In recent years, the global chocolate market has witnessed remarkable growth, with a projected value expected to exceed $200 billion by 2024, according to a report by Fortune Business Insights. This surge in demand for chocolate products has led to a burgeoning interest in artisanal chocolate-making, where quality and presentation are paramount. A vital tool in achieving stunning chocolate designs is the use of "stampi per il cioccolato" or chocolate molds, which enable chocolatiers, both amateur and professional, to craft intricate shapes and patterns that captivate consumers’ attention. By mastering the art of using these molds, chocolate enthusiasts can elevate their creations from simple confections to visually striking masterpieces, thus adding tremendous value to their products in an increasingly competitive market. In this guide, we'll walk you through the essential steps to create stunning chocolate shapes using chocolate molds, ensuring you can impress both yourself and your customers.
Understanding Different Types of Chocolate Molds for Your Creations
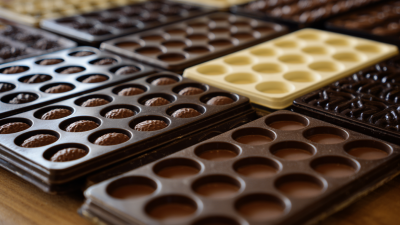
When it comes to creating stunning chocolate shapes, understanding the different types of chocolate molds is essential for achieving professional-looking results. Chocolate molds come in various materials, including silicone, polycarbonate, and metal.
Silicone molds are flexible, making it easy to release the chocolate without breaking the shapes. They are ideal for intricate designs but may not provide the sharpest edges that some bakers desire. On the other hand, polycarbonate molds offer a glossy finish and are perfect for more detailed shapes, while metal molds are great for their durability and heat conductivity.
Tip: Always ensure your molds are clean and dry before pouring in the chocolate. Any residue can affect the texture and finish of your chocolate shapes.
When selecting molds, consider the type of chocolate you plan to use as well. Dark chocolate, milk chocolate, and white chocolate have different melting points, which can impact how well they fill the mold.
Choose molds designed specifically for the chocolate type you are working with to guarantee the best results.
Tip: For added creativity, experiment with layering different types of chocolate in your molds. This not only enhances the visual appeal but also adds unique flavor combinations to your creations.
Selecting the Right Chocolate for Molding: Tips and Techniques
When creating stunning chocolate shapes with molds, selecting the right chocolate is crucial for achieving the best results.
High-quality chocolate not only enhances the flavor but also determines how well it sets and releases from the molds.
Look for tempered chocolate, which has been heated and cooled to stabilize it, providing a glossy finish and a satisfying snap.
Additionally, consider using different types of chocolate—dark, milk, or white—based on the aesthetic and taste you want to achieve with your creations.
Tips for molding chocolate effectively include ensuring that your molds are clean and dry before pouring in the chocolate.
This prevents any moisture from affecting the final texture. Pour the melted chocolate slowly into the mold, filling it to the top, and tap it gently on a flat surface to release air bubbles.
After cooling, carefully invert the mold to release the chocolate shapes.
Experiment with adding fillings such as fruits or nuts to add a delightful surprise inside your chocolate masterpieces.
Preparing Your Workspace for Successful Chocolate Molding
Creating stunning chocolate shapes begins long before you melt your chocolate. A well-prepared workspace is crucial for achieving professional results. According to the 2022 National Confectioners Association report, almost 70% of chocolatiers attribute their success to a clean and organized environment. Start by ensuring your countertops are clear of clutter and thoroughly cleaned, as any impurities can affect your chocolate's shine and texture.
Temperature control is another vital aspect of preparing your workspace. Research shows that chocolate performs best at specific temperatures; ideally, the ambient environment should be around 18-22°C (65-72°F). Ensuring good airflow and using air conditioning or dehumidifiers can create the perfect setting for molding. Additionally, having all your tools, such as molds, spatulas, and thermometers, within reach will streamline the process and minimize interruptions, making your chocolate molding experience more efficient and enjoyable.
Step-by-Step Process: Melting and Pouring Chocolate into Molds
To create beautiful chocolate shapes, the process of melting and pouring chocolate into molds is crucial. According to a report by the Cocoa Association, the global chocolate market is expected to reach $161.56 billion by 2025, highlighting the increasing popularity of chocolate crafts among both professionals and home enthusiasts. Melting chocolate requires precision; the ideal temperature for dark chocolate is around 120°F (49°C) and for milk or white chocolate, it should not exceed 105°F (40°C). Using a double boiler or a microwave in short bursts helps achieve the perfect consistency without burning the chocolate.
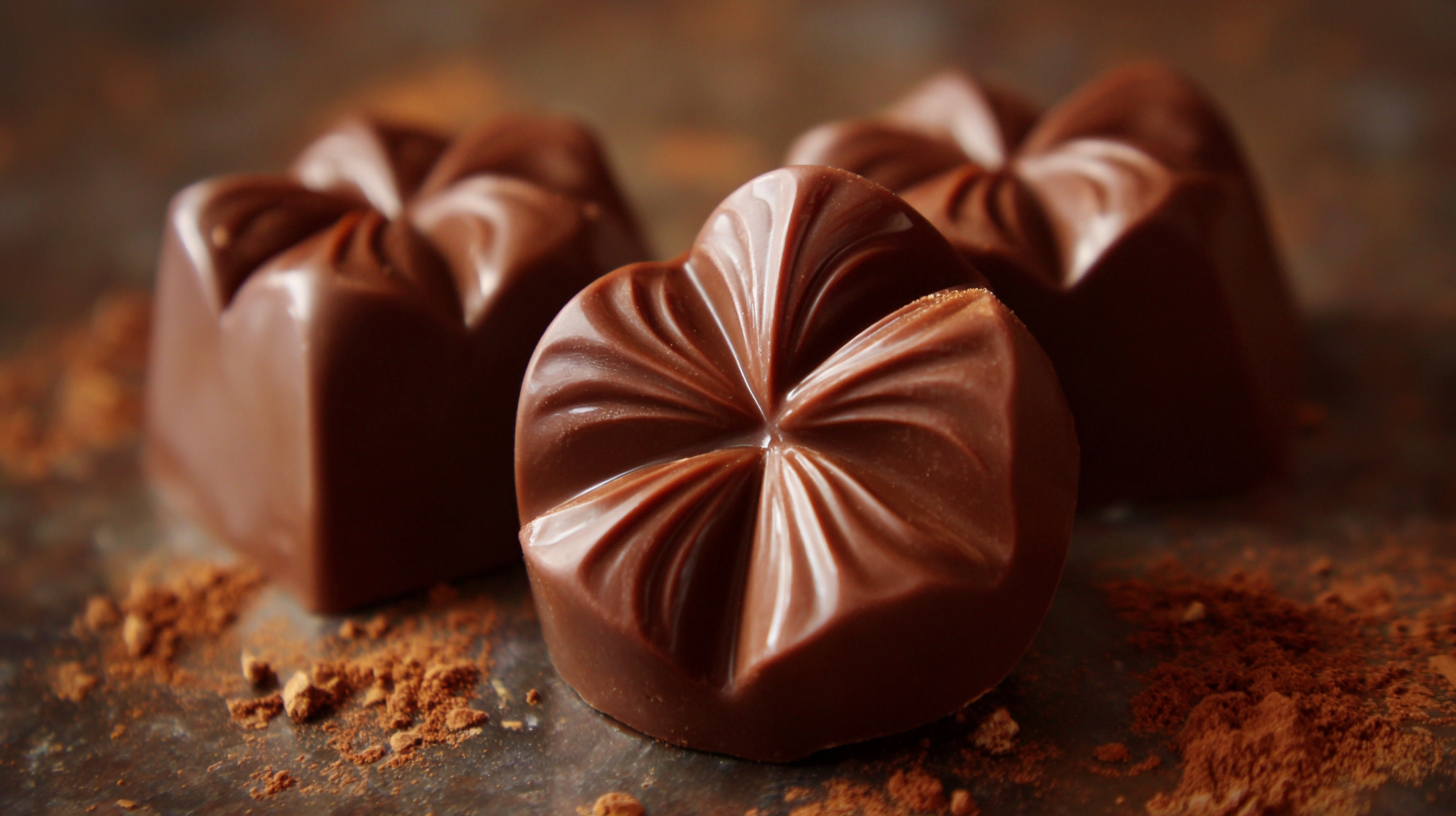
Once your chocolate is melted, it's time to pour it into molds. Select high-quality silicone or polycarbonate molds, as they determine the final shape and finish of your chocolates. Industry experts recommend tapping the molds gently after pouring to eliminate air bubbles, ensuring a smooth surface. Allow the chocolates to cool properly before demolding—this crucial step ensures they retain their shape and shine. According to research from the International Chocolate Awards, well-crafted chocolates show better gloss and texture, enhancing the overall presentation and appeal, which is vital in the competitive chocolate market.
Decorating and Finishing Touches for Perfect Chocolate Shapes
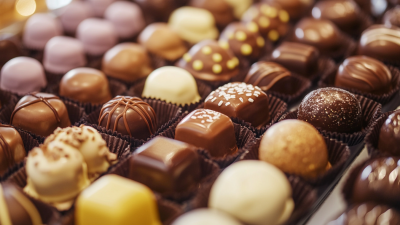
Decorating chocolate shapes can elevate your creations from simple treats to stunning gourmet delights. Once you’ve molded your chocolate into the desired shapes, consider using techniques like airbrushing with edible colors or dusting with cocoa powder to add depth and allure. Edible glitter can provide a festive touch, while a sprinkle of sea salt can enhance the flavor profile, creating a beautiful contrast against the sweet chocolate.
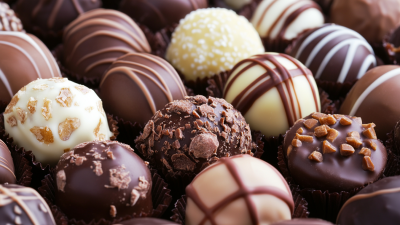
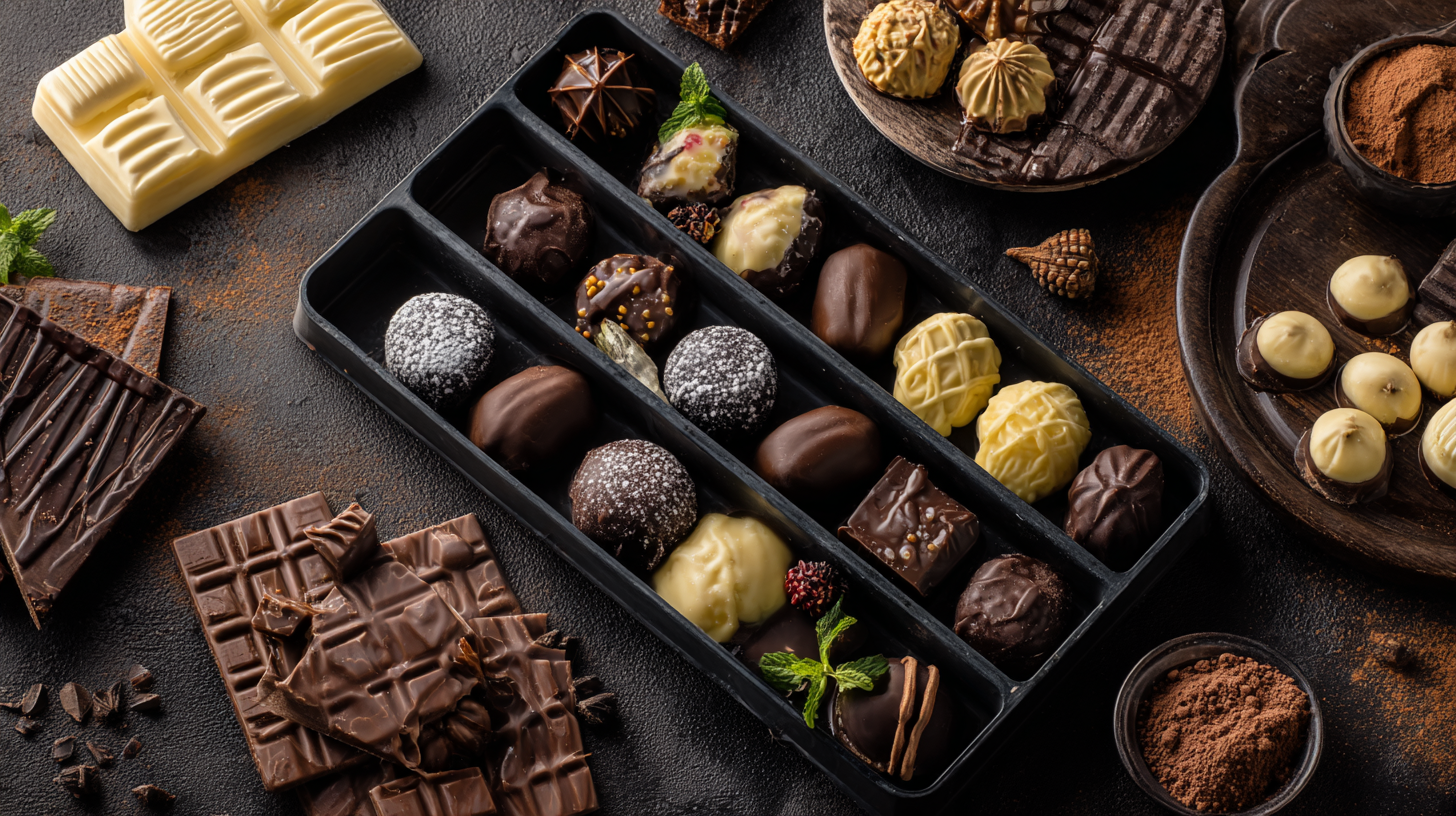
Finishing touches play a crucial role in making your chocolate shapes stand out. Drizzling contrasting chocolate, such as white or colored chocolate, over the molded pieces can add a striking design element. Additionally, incorporating decorative elements like fresh fruit, candied nuts, or edible flowers can transform your chocolate shapes into visually appealing masterpieces. By combining these decorative techniques with your hollow, solid, or layered chocolate shapes, you can impress not only with taste but also with a stunning presentation that will captivate anyone who sees them.
How to Create Stunning Chocolate Shapes with Chocolate Molds: A Step-by-Step Guide
| Step |
Materials Needed |
Instructions |
Finishing Touches |
| 1 |
Chocolate, chocolate molds, double boiler, thermometer |
Melt chocolate in the double boiler, ensuring it reaches 88-90°F for dark chocolate. |
Allow chocolate to cool slightly before adding toppings like edible glitter or nuts. |
| 2 |
Spatula, heat-resistant gloves, parchment paper |
Pour melted chocolate into molds and tap gently to remove air bubbles. |
Once set, carefully remove shapes and place on parchment paper to cool. |
| 3 |
Decorative elements, edible paint |
Use a spatula to create surfaces on the chocolates for decorating. |
Paint or drizzle with contrasting chocolate colors for enhanced presentation. |
| 4 |
Storage containers, ribbons for packaging |
Store finished chocolates in a cool, dry place away from sunlight. |
Package in decorative boxes, adding ribbons for a beautiful finish. |